
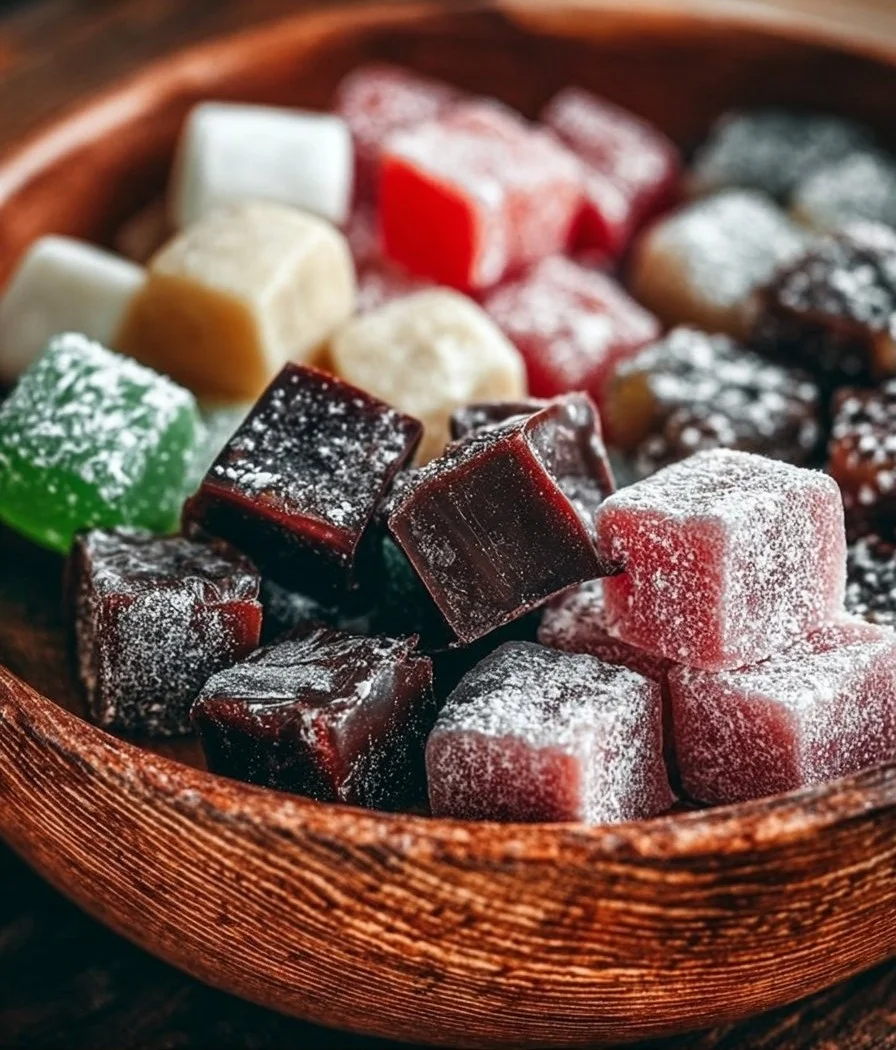
Homemade Christmas Candies
Each year, as December rolls around, I find myself absolutely swept up in the magic of the holiday season. To me, that season is defined not by the presents under the tree or the fancy decorations, but by the warmth of my family gathered in the kitchen, the delightful aroma of sweet treats simmering on the stove, and the shared laughter echoing throughout our home. One of the highlights of our Christmas celebrations is making homemade Christmas candies. It has become our treasured tradition.
I remember the first time I ventured into the world of candy-making. My children, Lucy and Ben, were barely old enough to help but old enough to ask a million questions. They were fascinated by the melting chocolate and the colorful sprinkles. Their wide eyes and giggles kept me in a cheerful spirit, and it dawned on me how these moments were building our family memories. My husband, Mark, often teases that I have no restraint when it comes to experimenting with flavors. “Why not add a little peppermint?” I’d say, chasing the kids around the kitchen with a spoon in one hand and a bowl of frosting in the other. There’s something very special about creating something sweet from scratch, and homemade Christmas candies have become our delicious tradition!
This recipe has evolved over the years into something that feels like a love letter to the holiday season. It allows me to infuse my creativity while enjoying a fun bonding time with my kids. Homemade Christmas candies have become the heart of our festive gatherings. Each batch carries with it memories of laughter, joy, a bit of sugar rush, and heartwarming chaos. This is not just about making treats for the season; it’s about treasure in family moments, delightful flavors, and sharing love.
Why Make This Recipe
Homemade Christmas candies offer so much more than the delightful treats themselves. Making candy as a family builds connections, fosters creativity, and creates lasting memories. When you spend time with loved ones in the kitchen, you’re not just preparing sweets; you’re sharing stories, laughter, and even the occasional spat of flour or melted chocolate.
These candies can be tailored to suit everyone’s tastes. Whether it’s chocolate fudge or raspberry truffles, the sky’s the limit! Plus, they make for wonderful gifts. I love making small batches of assorted candies to share with our neighbors. After all, nothing says “happy holidays” like a tin filled with homemade goodies. When you hand over a box of these candies, you’re not just giving a treat; you’re passing along the warmth of your home and the joy of creating something meaningful.
How to Make Homemade Christmas Candies
The process is straightforward and fun, and it’s a perfect chance for the kids to get hands-on. Here’s how you can whip up your own batch of homemade Christmas candies:
Ingredients:
- 1 cup sugar
- 1/2 cup butter
- 1/3 cup evaporated milk
- 2 cups chocolate chips
- 1 teaspoon vanilla extract
- 1 cup chopped nuts (optional)
- 1 cup powdered sugar (for coating)
- 2 cups white chocolate (for truffles)
- Various flavorings (peppermint, raspberry, etc.)
Directions:
- In a saucepan over medium heat, combine sugar, butter, and evaporated milk. Stir until it starts boiling and cook for 5 minutes, stirring constantly.
- Remove the saucepan from heat and add chocolate chips and vanilla. Stir until melted and smooth.
- If you want to make fudge, pour the mixture into a greased pan and let it cool before cutting into squares.
- For truffles, chill the mixture until it’s firm. Then scoop and roll into balls.
- Roll the truffles in powdered sugar or melted white chocolate, and let them set.
- Share with loved ones or package as gifts to spread joy!
I remember one particular year when Lucy insisted on adding crushed peppermint to the truffles. We threw caution to the wind and went for it! The kids were so proud, bouncing around with their creations, their faces smeared with chocolate laughter.
How to Serve Homemade Christmas Candies
Serving your homemade Christmas candies is where the fun continues. Place them in decorative tins or jars, and let the magic speak for itself. You can present them at holiday gatherings as show-stopping desserts, or keep a few hidden for late-night family snacks while watching our favorite Christmas movies. I love stacking them on plates and watching how they disappear at parties, witnessing the pure delight on everyone’s face.
How to Store Homemade Christmas Candies
To store your homemade Christmas candies, keep them in an airtight container in a cool, dry place. They can last a week or two, but trust me, they rarely last that long in our house! If I make a big batch, I usually freeze some for later enjoyment. Just make sure they are properly wrapped to avoid freezer burn.
Tips to Make Homemade Christmas Candies
- Quality Ingredients: Get good-quality chocolate; it really makes a difference in the flavor.
- Kids in the Kitchen: Engage your children! Let them sprinkle toppings or help with mixing.
- Experimentation: Don’t be afraid to try new flavors or add-ins. I’ve played with nuts, dried fruits, and even flavored extracts.
- Temperature Control: Be careful with your heat setting. Too high, and chocolate can burn; too low, and it won’t melt properly.
Variation
You can easily adapt this recipe to create a variety of sweet treats. Here are a few fun ideas:
- Caramel Swirls: Add a swirl of homemade caramel into your fudge before it sets for an extra indulgent treat.
- Nutty Chocolate Delight: Mix in your favorite nuts into the fudge for a nice crunch.
- Spiced Truffles: Add a sprinkle of cinnamon or nutmeg for a holiday spice twist.
FAQs
1. Can I make these candies ahead of time?
Absolutely! These homemade Christmas candies can be made a week or two in advance and stored in airtight containers until you are ready to share.
2. What can I use instead of chocolate?
You can use butterscotch chips or even peanut butter chips if you want to mix things up. Just keep the same quantities in mind.
3. How do I know if my fudge is set?
Your fudge will look firm and won’t be sticky to the touch. Allow it to cool completely and then test it before cutting into squares.
Making homemade Christmas candies has become an integral part of our family holiday tradition. With each batch, I am reminded of the love, laughter, and joy that fills our home as we create, share, and relish these sweet moments together. I hope that this recipe brings as much joy and warmth to your home as it has to ours! Happy candy-making!
Homemade Christmas Candies
Ingredients
Method
- In a saucepan over medium heat, combine sugar, butter, and evaporated milk. Stir until it starts boiling and cook for 5 minutes, stirring constantly.
- Remove the saucepan from heat and add chocolate chips and vanilla. Stir until melted and smooth.
- If you want to make fudge, pour the mixture into a greased pan and let it cool before cutting into squares.
- For truffles, chill the mixture until it’s firm. Then scoop and roll into balls.
- Roll the truffles in powdered sugar or melted white chocolate, and let them set.
- Share with loved ones or package as gifts to spread joy!